오늘은 크게 두가지 작업을 진행했다. 내용이 길어서 두개 포스팅으로 나누어서 작성한다.
먼저 로그인 완료한 사용자가 발급받은 JWT를 헤더에 넣어 요청을 보내면 적절한 JWT인지 검증하는 로직을 구현했다.
JWT를 검증하는 전용 Security Filter 를 구현해서 Filter Chain에 적용하는 방식으로 진행하였다.
이번에도 나중에 팀원들과 얘기할것을 대비해서 주석으로 관련 내용을 기입해두었다.
프로젝트 기간이 짧다보니 PR 검토하는 시간이 부족하고, 각자 코드 작성하기에도 바빠서 설명이 필요해보이는 부분은 적어두었다.
[JWT 검증]
1. JwtVerificationFilter: 실질적으로 JWT를 검증하는 역할을 한다.
doFilterInternal() 메서드를 override하여 필요한 로직을 구현할 수 있는데, 요청에 포함된 JWT를 검증하고 claims를 가져온 후
인증된 Authentication(claims) 정보를 Security Context에 저장하였다.
프로젝트에서 별도의 ROLE은 구분하지 않으므로 해당 부분은 null처리하였다.
또한 H2 콘솔을 사용하고 있어 shouldNotFilter() 메서드를 통해 Header에 Authorization 정보가 없을경우 필터가 작동하지 않도록
하였다.(자격증명 필요없는 리소스를 사용할때 필요함)
// 상속한 OncePerRequestFilter는 요청당 한번만 실행되도록 보장하는 역할을 한다.
@Slf4j
public class JwtVerificationFilter extends OncePerRequestFilter {

    // JWT를 검증하고 claims(토큰에 포함된 정보)를 얻는데 사용된다.
    private final JwtTokenizer jwtTokenizer;

    public JwtVerificationFilter(JwtTokenizer jwtTokenizer) {
        this.jwtTokenizer = jwtTokenizer;
    }

    // OncePerRequestFilter의 메서드 구현. 진행 단계 확인을 위해 log 설정 해두었음.
    // verifyJws()를 통해 JWT를 검증하고, setAuthenticationContext()를 통해 인증된 Authentication을 SecurityContext에 저장함
    // 두 과정을 완료하면 filterChain.doFilter()를 통해 다음 필터를 호출함
    @Override
    protected void doFilterInternal(HttpServletRequest request, HttpServletResponse response, FilterChain filterChain) throws ServletException, IOException {
        try{
            Map<String, Object> claims = verifyJws(request);
            setAuthenticationContext(claims);
        } catch (SignatureException se) {
            request.setAttribute("exception", se);
        } catch (ExpiredJwtException ee) {
            request.setAttribute("exception", ee);
        } catch (Exception e) {
            request.setAttribute("exception", e);
        } // 아직 에러 처리에 관한 방식이 확정되지 않아 임의로 작성해두었다.

        filterChain.doFilter(request, response);
    }

    // Authorization header값이 null이거나 Bearer로 시작하지 않으면 이 필터 동작을 수행하지 않도록 정의
    // 자격 증명이 필요 없는 리소스에 대한 요청이라고 판단하기 위한 메서드. H2 콘솔 이용 등 Authorization 헤더 없는 경우 적용됨
    @Override
    protected boolean shouldNotFilter(HttpServletRequest request) throws ServletException {

        String authorization = request.getHeader("Authorization");

        return authorization == null || !authorization.startsWith("Bearer");
    }

    // JWT를 검증하는데 사용하는 메서드
    // Request Header에서 JWT를 가져온 후 claims를 파싱한다.(서명 검증이 완료되어야만 파싱이 되므로, 파싱된다는것은 내부적으로 검증에 성공했다는 것이다.)
    private Map<String, Object> verifyJws(HttpServletRequest request){
        String jws = request.getHeader("Authorization").replace("Bearer", "");
        String base64EncodedSecretKey = jwtTokenizer.encodeBase64SecretKey(jwtTokenizer.getSecretKey());
        Map<String, Object> claims = jwtTokenizer.getClaims(jws, base64EncodedSecretKey).getBody();
        return claims;
    }

    // 인증 완료된 Authentication 객체를 SecurityContext에 저장하기 위한 메서드
    // 토큰을 이용한 인증 방식의 경우 비밀번호가 필요 없으므로 UsernamePasswordAuthenticationToken 생성자의 두번째 파라미터(credentials)는 null이다.
    // 권한 정보를 별도로 설정하지 않으므로 세번째 파라미터(authorities)도 null 처리하였다. (파라미터 3개일때 Authenticated = true 인 객체 생성)
    private void setAuthenticationContext(Map<String, Object> claims){
        String loginId = (String) claims.get("loginId");
        Authentication authentication = new UsernamePasswordAuthenticationToken(loginId, null, null);
        SecurityContextHolder.getContext().setAuthentication(authentication);
    }
}
2. SecurityConfiguration: 작성한 JwtVerificationFilter를 적용하였다.
사용자 정의 필터 설정정보에 해당 내용을 추가한다. URI 별로 필요한 조건을 명시해서 적용할 수 있다.
현재 프로젝트에서 role을 구분하지 않으므로 인증 유무로 구분하였다.
@Configuration
public class SecurityConfiguration {
    (...)

    @Bean
    public SecurityFilterChain filterChain(HttpSecurity http) throws Exception {
        http
                .headers().frameOptions().sameOrigin()
                .and()
                .cors(withDefaults())  // corsConfigurationSource를 사용해 CORS 설정 추가
                .csrf().disable()  // 로컬에서 테스트 예정이므로 csrf 비활성화 (활성화 할 경우 403에러 발생)
                .sessionManagement().sessionCreationPolicy(SessionCreationPolicy.STATELESS) // 세션을 생성하지 않도록 설정
                .and()
                .formLogin().disable()  // JSON 포맷으로 id, pw를 전송하므로 formLogin 비활성화
                .httpBasic().disable() // HTTP Basic 인증은 요청 전송시마다 id, pw를 header에 실어서 인증하는 방식. 현재 프로젝트에선 사용하지 않음.
                .apply(new CustomFilterConfigurer()) // (1) 사용자 정의 필터 적용
                .and()
                .authorizeHttpRequests(authorize -> authorize
                        .antMatchers("/members/**").authenticated() // (2) 추가
                        .antMatchers("/questions/**").authenticated()
                        .antMatchers("/answers/**").authenticated()
                        .anyRequest().permitAll()); // 위에 설정된 경로 외에는 모두 허용함

        return http.build();
    }

    (...)

    public class CustomFilterConfigurer extends AbstractHttpConfigurer<CustomFilterConfigurer, HttpSecurity> {
        @Override
        public void configure(HttpSecurity builder) throws Exception {

            AuthenticationManager authenticationManager = builder.getSharedObject(AuthenticationManager.class);

            JwtAuthenticationFilter jwtAuthenticationFilter = new JwtAuthenticationFilter(authenticationManager, jwtTokenizer);
            jwtAuthenticationFilter.setFilterProcessesUrl("/login");

            JwtVerificationFilter jwtVerificationFilter = new JwtVerificationFilter(jwtTokenizer);  // (3) 추가

            builder.addFilter(jwtAuthenticationFilter)
                    .addFilterAfter(jwtVerificationFilter, JwtAuthenticationFilter.class); // 로그인 인증에 성공하고 발급받은 JWT가 Request Header에 포함되어있을경우에만 동작
        }
    }
}
3. Controller, Service: 프로젝트에서 필요한 로직은 아니고, JWT 검증 필터가 제대로 구현되었는지 확인하기 위해
간단한 Get 메서드를 작성하였다.
// Controller

@GetMapping("/members/{memberId}")
public ResponseEntity getmember(@PathVariable long memberId){
    Member findMember = memberService.findMember(memberId);
    return new ResponseEntity<>(mapper.memberToMemberResponseDto(findMember), HttpStatus.OK);
}
// Service
public Member findMember(long memberId){
Optional<Member> optionalMember = memberRepository.findById(memberId);
return optionalMember.orElseThrow(()->new RuntimeException("일치하는 회원 없음"));
}
[결과 확인]
로그인했을때 AccessToken을 전달받았다. (헤더 - Authorization)

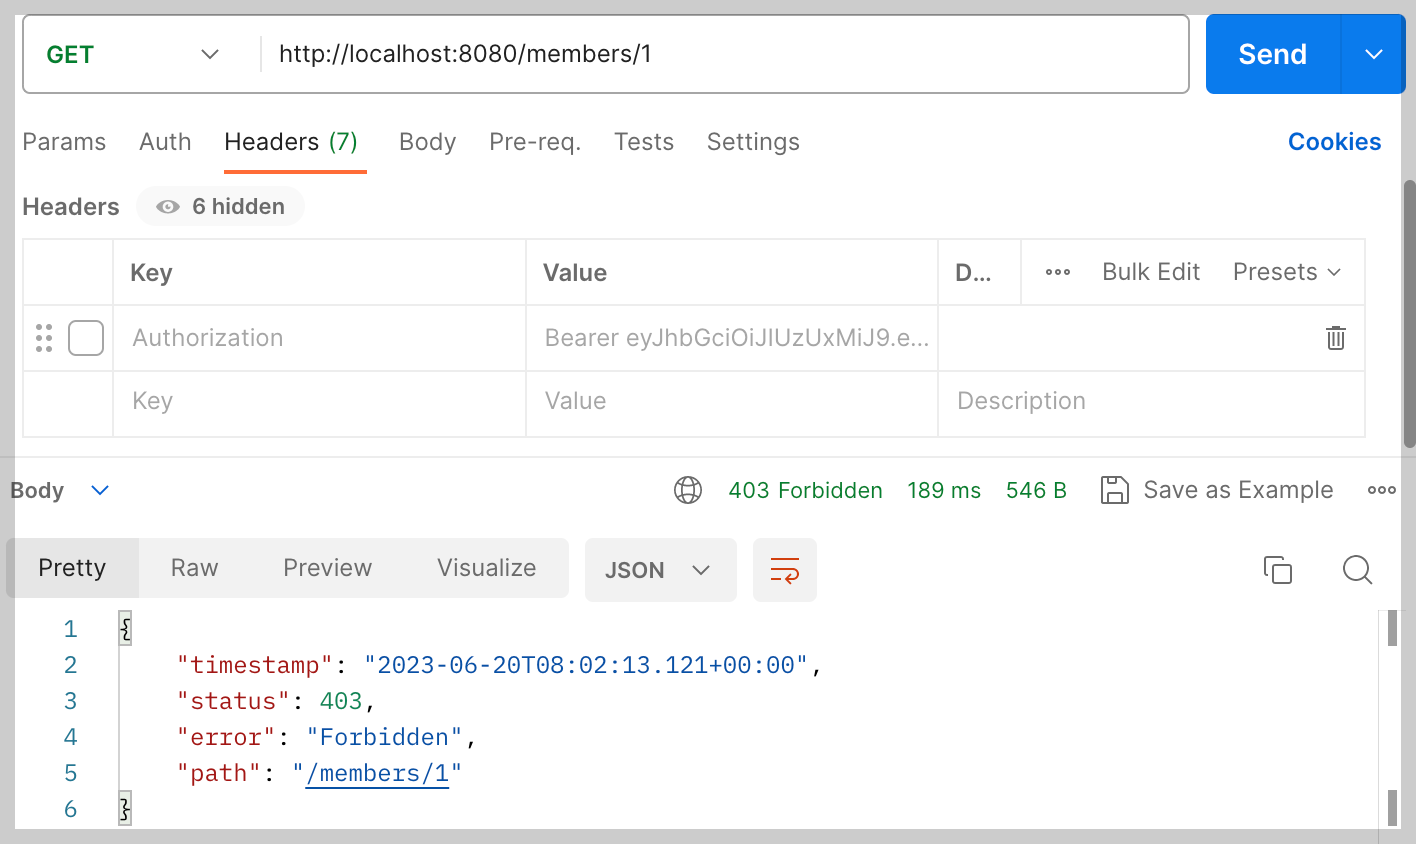
/members/{memberId} 경로로 AccessToken 없이 요청을 보내보았다. 권한이 없어 접속이 불가능했다.
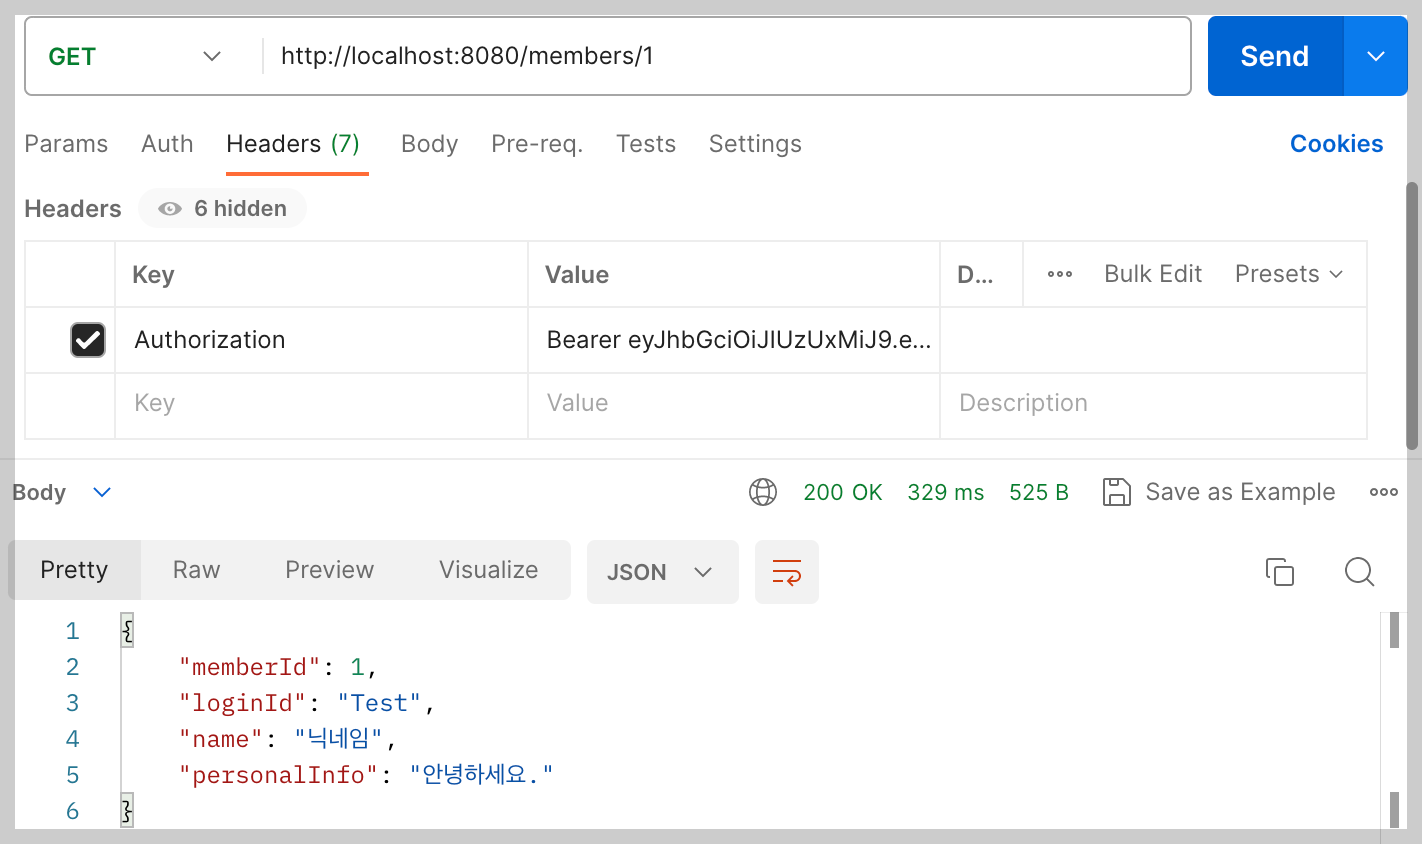
Header에 로그인시 발급받은 AccessToken을 넣어서 요청을 보냈다. 정상적으로 응답이 오는것을 확인할 수 있다.
참고자료
'부트캠프 개발일기 > Pre-Project' 카테고리의 다른 글
| 89일차: Pre-Project Day 9 (HandlerInterceptor, JWT 정보 가져오기) (0) | 2023.06.21 |
|---|---|
| 88일차: Pre-Project Day 8-2 (JWT 로그아웃, Redis) (2) | 2023.06.20 |
| 87일차: Pre-Project Day 7(JWT 로그인 기능 구현) (0) | 2023.06.19 |
| 86일차: Pre-Project Day 6 (회원가입 기능 구현, 암호화) (0) | 2023.06.16 |
| 85일차: Pre-Project Day 5 (이슈 설정, 역할 분담) (0) | 2023.06.15 |


